My Process:
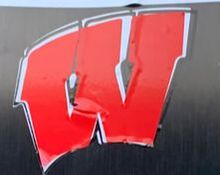
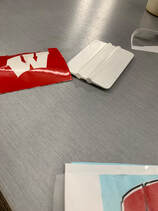
To start my process for vinyl cutting my decal I tried to think of ideas that were teams/things that I like and whether they would be complicated or not. A couple of ideas that I had in mind were the Packers, the Brewers, and the Badgers. I ultimately decided to go with the Badgers logo based off of the way each color laid on the decal. The logo has black, white, and red and I figured white would still work for my decal because I will be putting it in my room which is blue.

|

|
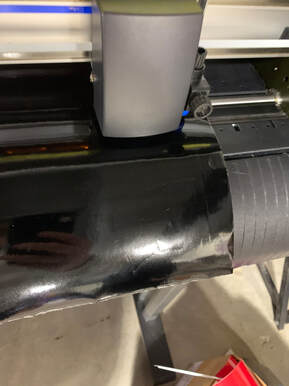
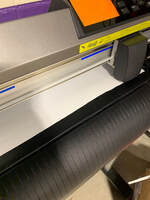
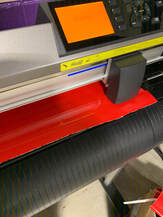
Cutting and applying the decal
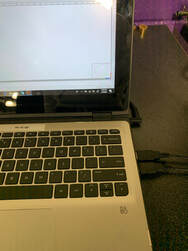
It took me about an hour or so to find the right decal and get it all set up in illustrator. At first I was very confused as to how I could split up the colors into three different decals, so I had to ask my friend how to do so. Once I got the three separate parts I was ready to cut on the vinyl, and it went by quickly because the directions were clear. As well, I looked off the person that went before me so I could get through the process quicker. When it comes to the applying process, I had lots of problems. Two of my decals where ones that were very thin, so when I went to apply them to the other decal they got all messed up. Parts of the decal folded and went off line. Then at the end of the school day I went home and put it on my laptop.
|
|

|
|
|
|
|
|
|
What I learned
The vinyl project help expand what I learned in illustrator instrumentally. Before this project all the things done in illustrator had been with no color, but now that our decals needed color I had to figure out more about illustrator. Along with color I also learned how to split images so the decal can have multiple colors once printed out. This made me work a lot more with the vinyl cutter machine which in return, expanded my knowledge on it.
