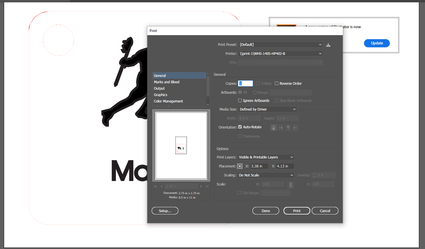
Step One: You need to have your illustrator project ready for the laser, and to do that you must click print in illustrator.
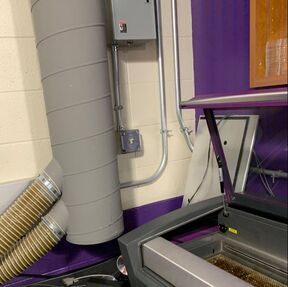
Step Two: Open up the laser cutting software and when opened your illustrator file should be sitting there waiting. Step Three: Once this is opened up now you must turn on the laser from the computer and turn on the ventilation which is a switch by the wall.
Step Four: Measure the thickness of the piece of plastic you are using and the enter it into the software. Step Five: Put your piece of plastic into the laser and line it up with one of the edges of the laser machine.
Step Six: Use the focus tool to move the laser onto the plastic inside of the program.
Step Seven: Use the relocation tool to move the laser on the place where you placed your object and make sure the whole design fits onto it.
Step Eight: Press the green arrow in the software to start the laser cutting.
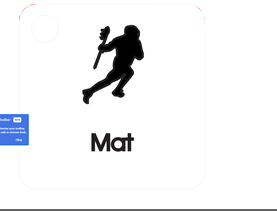
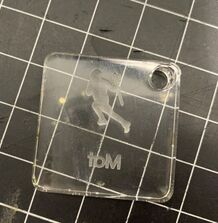
Final product
Vinyl Notebook Project
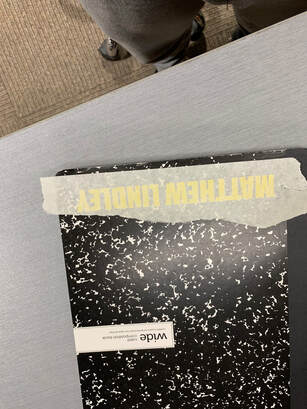
Decal Used:
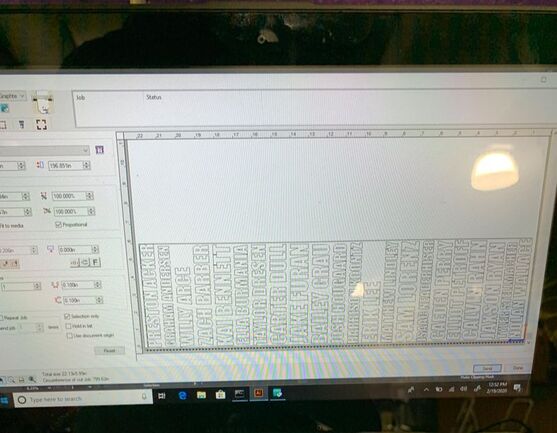
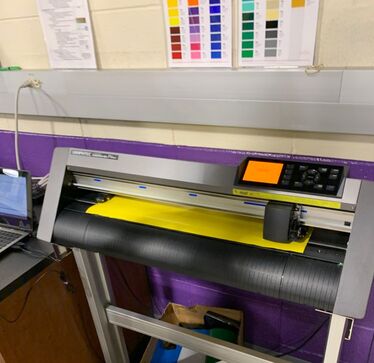
Step One: Cut your name on the vinyl away from all the other names.
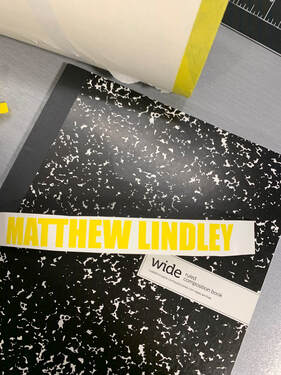
Step Two: Pull the excess vinyl away from your name (weeding) using a small dental tool.
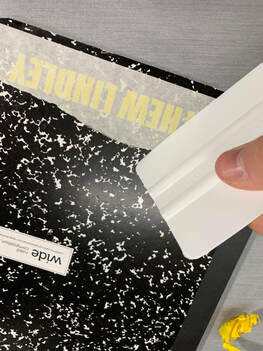
Step three: Apply the transfer tape to the decal and smooth it out with a specials tool.
Step Four: Lastly put the decal that is on the transfer tape and smooth it out on the bottom front cover of your designer notebook.